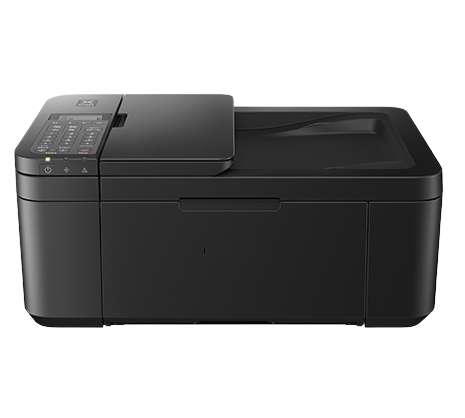
Methods to Resolve 'Epson Printer Printing Problems'

Quick Steps To Resolve Epson Printer Not Printing Color & Black Ink Problems
Method 1-Connect Your Printer with Correct Port
Follow these steps to do so:
- Open up the control panel.
- Select the “devices & printers” option.
- Select “properties” with a right-click on your Epson printer.
- Following that, right-click and select “Printer Options”.
- Now, go to the “Properties” window, and click on the “Ports” tab.
- Thereafter, select the “Add Port” option.
- Next, choose the TCP/IP port that is assigned by default, and then click on “Epson Printer Properties” on the newly created port.
- Now, click on the “next” option.
- In the end, press the “finish” button, restart your printer and computer, and print a test page.
Method 2- Remove & Re-Add Printer To Fix Epson Printer Not Printing Anything Issue
- To quickly access Windows settings, press the Windows key and the letter I.
- Proceed by clicking on ‘Devices’ within the settings menu.
- Choose “Printers & scanners” from the left pane after navigating there.
- Locate your printer listed under ‘Printer & scanners’, select it, and then click ‘Remove device’.
- With the printer successfully removed, initiate the reinstallation process by revisiting ‘Devices’, selecting ‘Printer & scanner’, and clicking the ‘+’ icon to ‘Add the printer’.
- Follow the prompts displayed on-screen meticulously to finalise the reinstallation procedure.
Method 3- Disable File and Printer Sharing To Fix Epson Printer Not Printing Color Issue
- Open the Control panel in your computer.
- Select Network and Internet option.
- Under the Network and sharing center > select View network status and tasks.
- Thereafter choose the ‘Change the advanced sharing settings’ option.
- Select the ‘Turn off file and printer sharing’ > then tap on save changes.
Method 4 - Remove Print Jobs In Queue
However, you may easily clear the print jobs by doing the following:
- Start by selecting “Run box” from the Windows search menu.
- Press the Enter key on your keyboard after typing “services.msc.” Now, services window will be visible on your screen.
- Then, navigate to the print spooler in the service window, point at it, and right-click to access the “Properties” menu.
- Then, click on “stop” and click on “OK”.
- Thereafter, open ‘File Explorer’ (Press Windows logo key and “E” at the same time).
- Press the “enter” key after copying and pasting this into the address bar of “%windir%\System32\spool\PRINTERS.”
- Now, all the print jobs of your computer will be visible on your screen.
- Remove/Delete every file from this folder.
- Open the services window again and right-click on the “Print Spooler” to open properties. Here, click on the start option & click on “OK” button.
- Thereafter, Shut-off all devices and switch off the printer and PC. Unplug the power cord as well.
- Let them off for at least a minute. After that, power on the printer and computer by plugging in the cords.
- Lastly, see if the Epson printer can now print. If not, then move on to the following method to resolve this problem.
What to do if Epson printer is not printing Black color ink?
Method 1- Clear the print head:
- First, use the Windows search function to enter the “Control Panel,” then select “Devices and Printers.”
- Here, you will be able to see your installed Epson printer with a Green check mark on it. When you perform a right-click on it, choose “Properties.”
- Now, click on the Hardware/Maintenance tab.
- Thereafter, click on “Head Cleaning” option from the next appearing window.
- Then, press the start button.
- Click the “Start” button to begin cleaning your head, then continue to follow the on-screen directions.
Method 2- Checks Ink cartridge level to resolve not printing black color issue
- Open the control panel.
- Select the “devices & Printers” option.
- From here, right-click on the Epson printer and then select the “Print Preferences” option.
- Now, click on the Repair tab.
- Next, select “Epson Status Monitor” from the maintenance menu by clicking on it.
- You can now see how much ink is left in the cartridges.
- If it displays low, then refill them.
Method 3- Check the Paper Trayse
- Click start menu and select control panel.
- Click on view device and printer under the hardware and sound.
- Locate your printer and right click on it.
- click on the printing preference and open it.
- Under the main tab, choose the paper source.
- Select the document size, select the paper type and print quality and click ok.
- load a sheet of paper in the tray.
- Try to do a print job and check whether the Epson printer not printing color or black ink problem is resolved or not.